
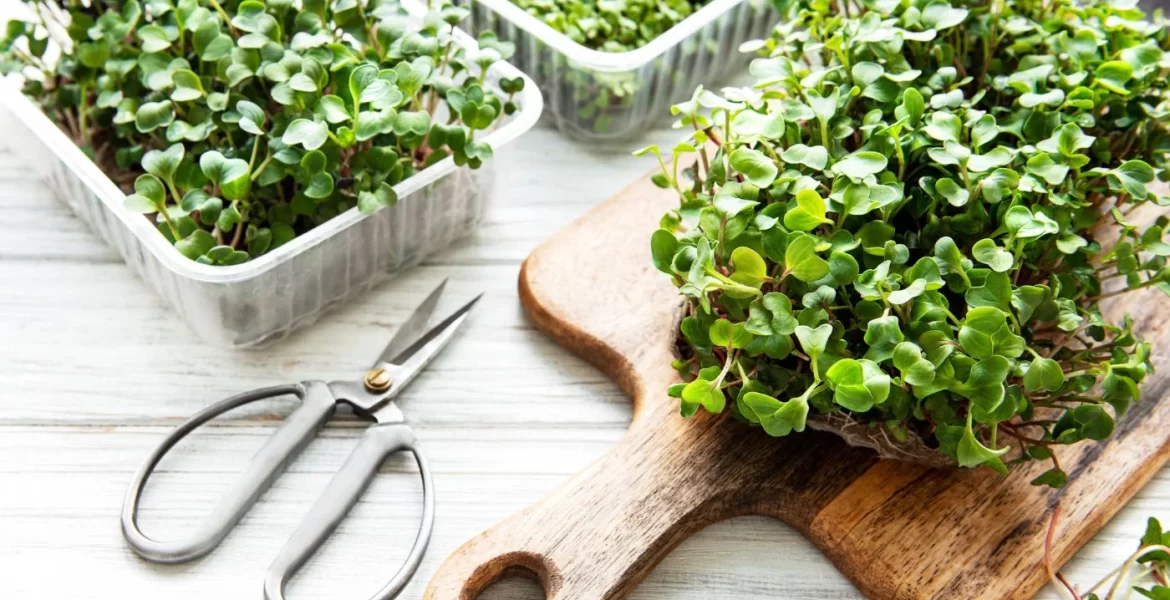
Four simple ways for those who want to get healthy food without leaving the apartment.
What is microgreen
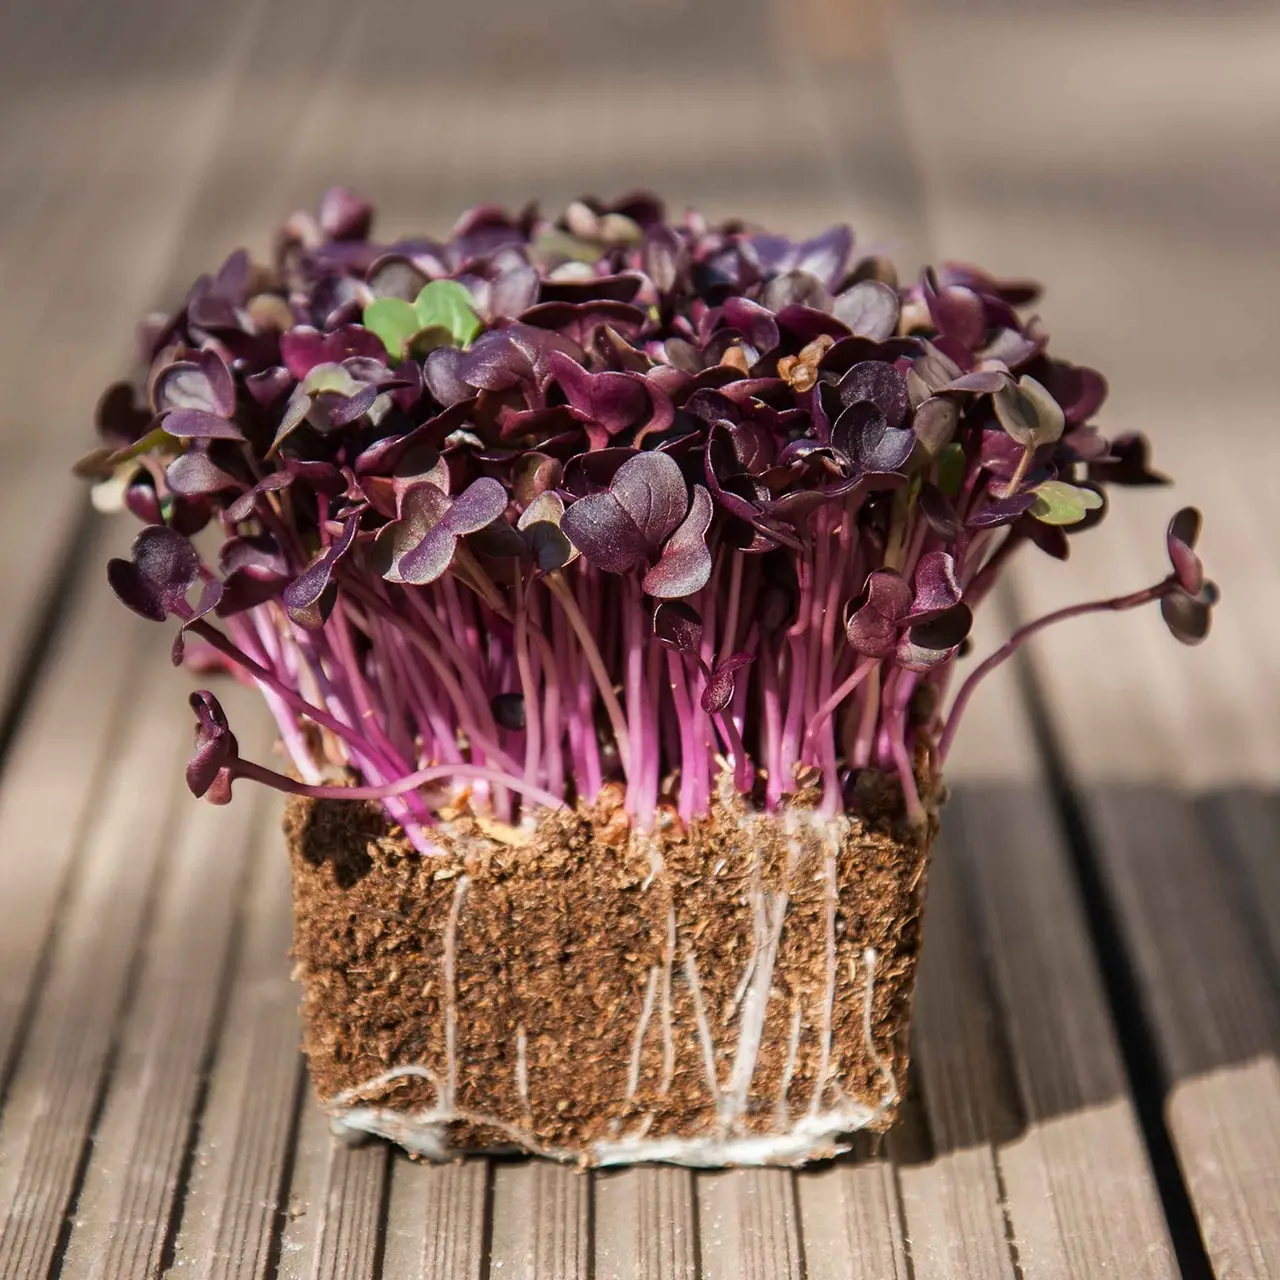
Microgreens are young sprouts of herbs and vegetables. The crop is harvested when the first pair of small leaves form on the stems. This occurs on average 12–14 days after disembarkation. The sprout itself can reach 5-7 cm in height.
The taste of microgreens is the same as that of a mature crop. For example, if you eat radish shoots, they will taste like the vegetable itself.
Microgreens are very useful: they are rich in vitamins and carotenoids. It can be eaten just like that, added to salads, sandwiches, smoothies and other dishes.
How to choose seeds for microgreens
There is no single answer. Some sources claim that the crop can be grown from ordinary horticultural seeds. But such material is treated with fungicides and insecticides. Their concentration is safe if you eat the ripe fruits, but these substances can be harmful if you eat small sprouts. Therefore, you need to ensure that the seeds are not processed – manufacturers indicate this information on the packaging. Another option is to only buy those made for microgreens.
More than 80 herbs and vegetables are suitable for growing greens. Here are some examples:
- arugula;
- beet;
- carrot;
- peas;
- onion;
- radish;
- spinach;
- cilantro;
- cucumber grass;
- dill;
- sorrel.
Remember the rule: crops whose seedlings are inedible are not suitable for microgreens. For example, eggplant, tomato and pepper sprouts can cause poisoning in humans. Beans are also toxic, and cucurbit shoots are bitter.
Also keep in mind that large seeds are soaked before planting: this helps to soften the shell. And the sprout eventually comes out faster. For example, cilantro and coriander are kept in water overnight, and barley, oats or alfalfa for 1-2 hours. But the basil and arugula do not need to be soaked.
How to choose a place to grow microgreens
Sprouts need at least 6 hours of natural sunlight per day. Some crops, such as sunflowers, may need more. Therefore, do not choose a window sill or a balcony overlooking the shady side for placing seedlings. If this is not possible, consider purchasing an LED seedling light. Under it, gardeners recommend keeping plants for at least 12 hours a day.
The optimum temperature for microgreens is 18-24°C. If the room is warmer, the seeds of some crops may not sprout. And if it’s cooler, they may take longer to rise.
For planting microgreens, you can use a special germinator. There are quite a few varieties of this device, but the manufacturer attaches instructions to each. So it will be easy to understand the process. If there is no germinator and you don’t want to buy it, you can grow a crop with the help of improvised means.
How to grow microgreens on paper towels
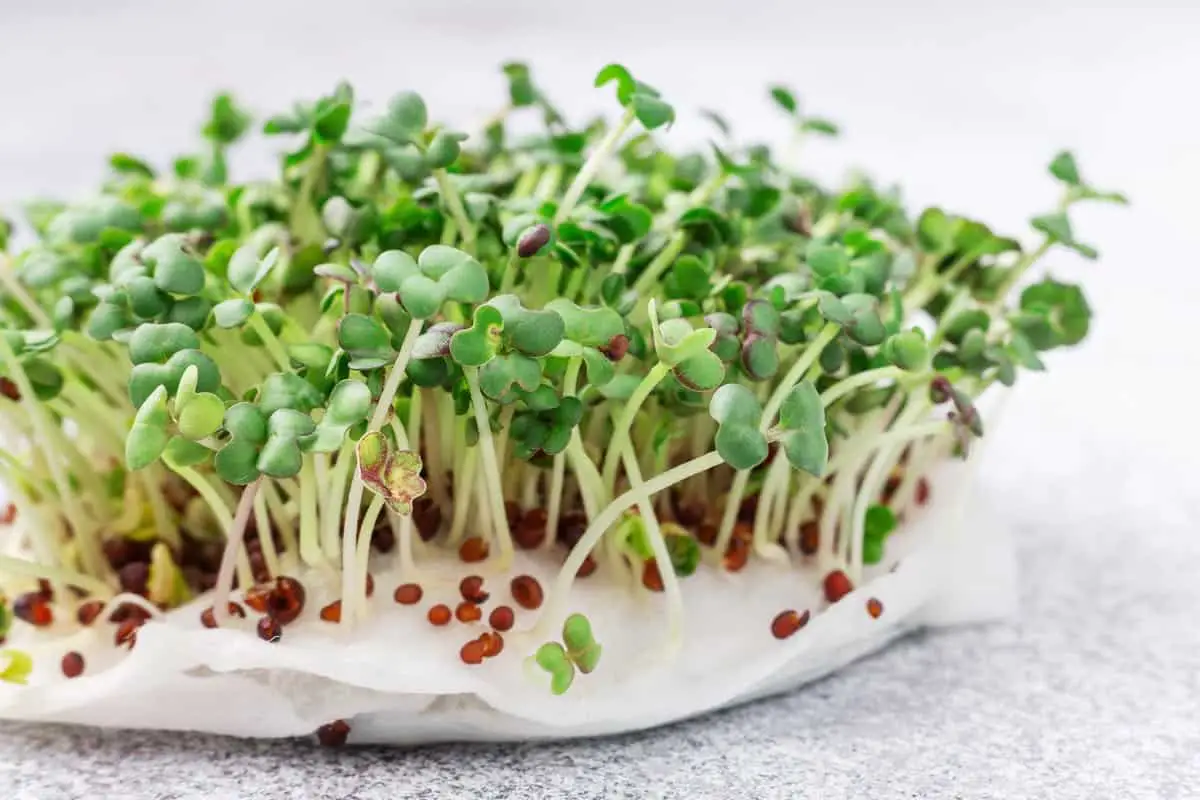
What you need
- small jar;
- water;
- paper towels without patterns;
- plastic container measuring 25 × 50 cm;
- spoon;
- seeds;
- spray.
What to do
Wet paper towels and then wring them out well. If the material is too dry, the microgreens will not sprout. And with too much moisture, mold will appear.
Fold the towels in several layers and place them at the bottom of the container. With a spoon, carefully and without pressure, spread the seeds over the surface. Spray them with a spray bottle and cover with a clean towel.
Place the container in a dark place. This will help mimic the natural conditions in the ground. After about 24 hours, the sprouts should hatch. Check seedlings periodically. If the towel seems to be too dry, add water using a spray bottle.
After germination, move the microgreens to the light – then the process of photosynthesis will start. Leaves that may have appeared pale yellow will begin to turn green. Add water to the towel as needed.
How to grow microgreens in a jar
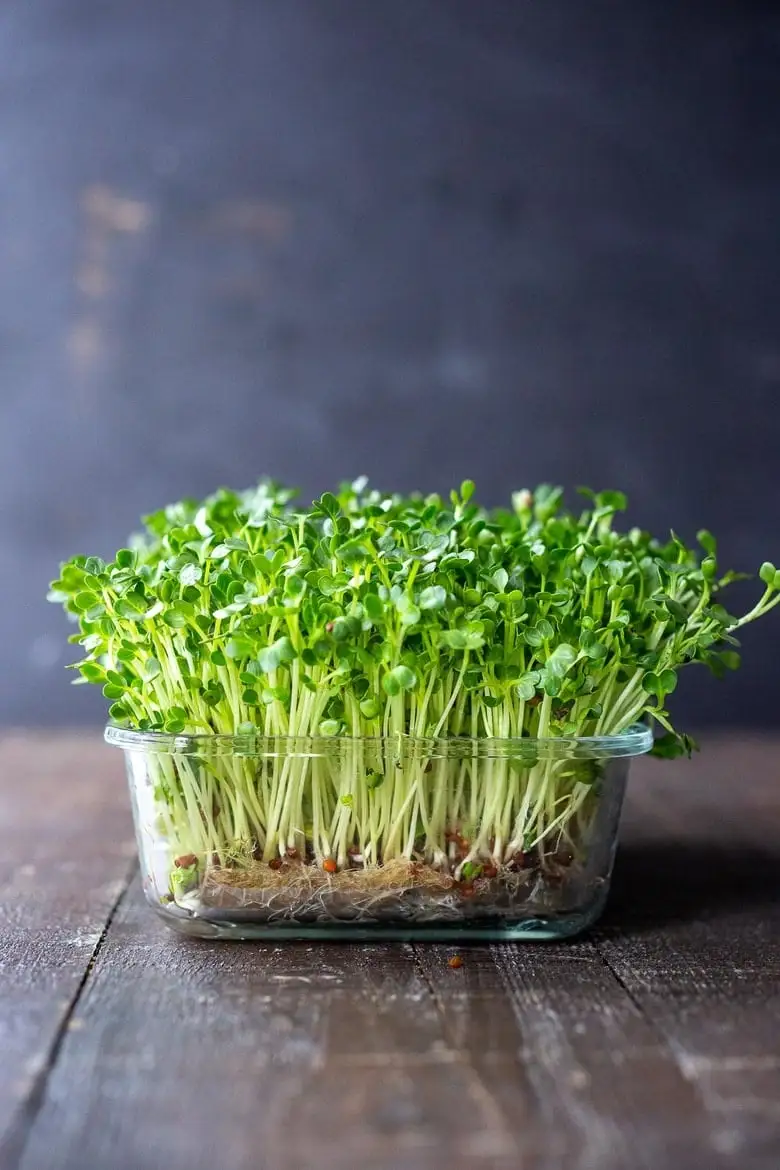
What you need
- seeds;
- jar;
- water;
- gauze or a small piece of cloth;
- bank gum or rope.
What to do
Pour the seeds into a jar and fill them with a little water. Place gauze or a piece of cloth on the neck. Secure with a rubber band or string. Wait until sprouts begin to sprout from the grains, and immediately drain the liquid. Rinse the blanks carefully and put them back in the container.
Close the container with a cloth and place it at an angle of 30 °, leaning against something. This will help drain excess fluid. Rinse the grains every day to remove the mucus from them.
How to grow microgreens in soil
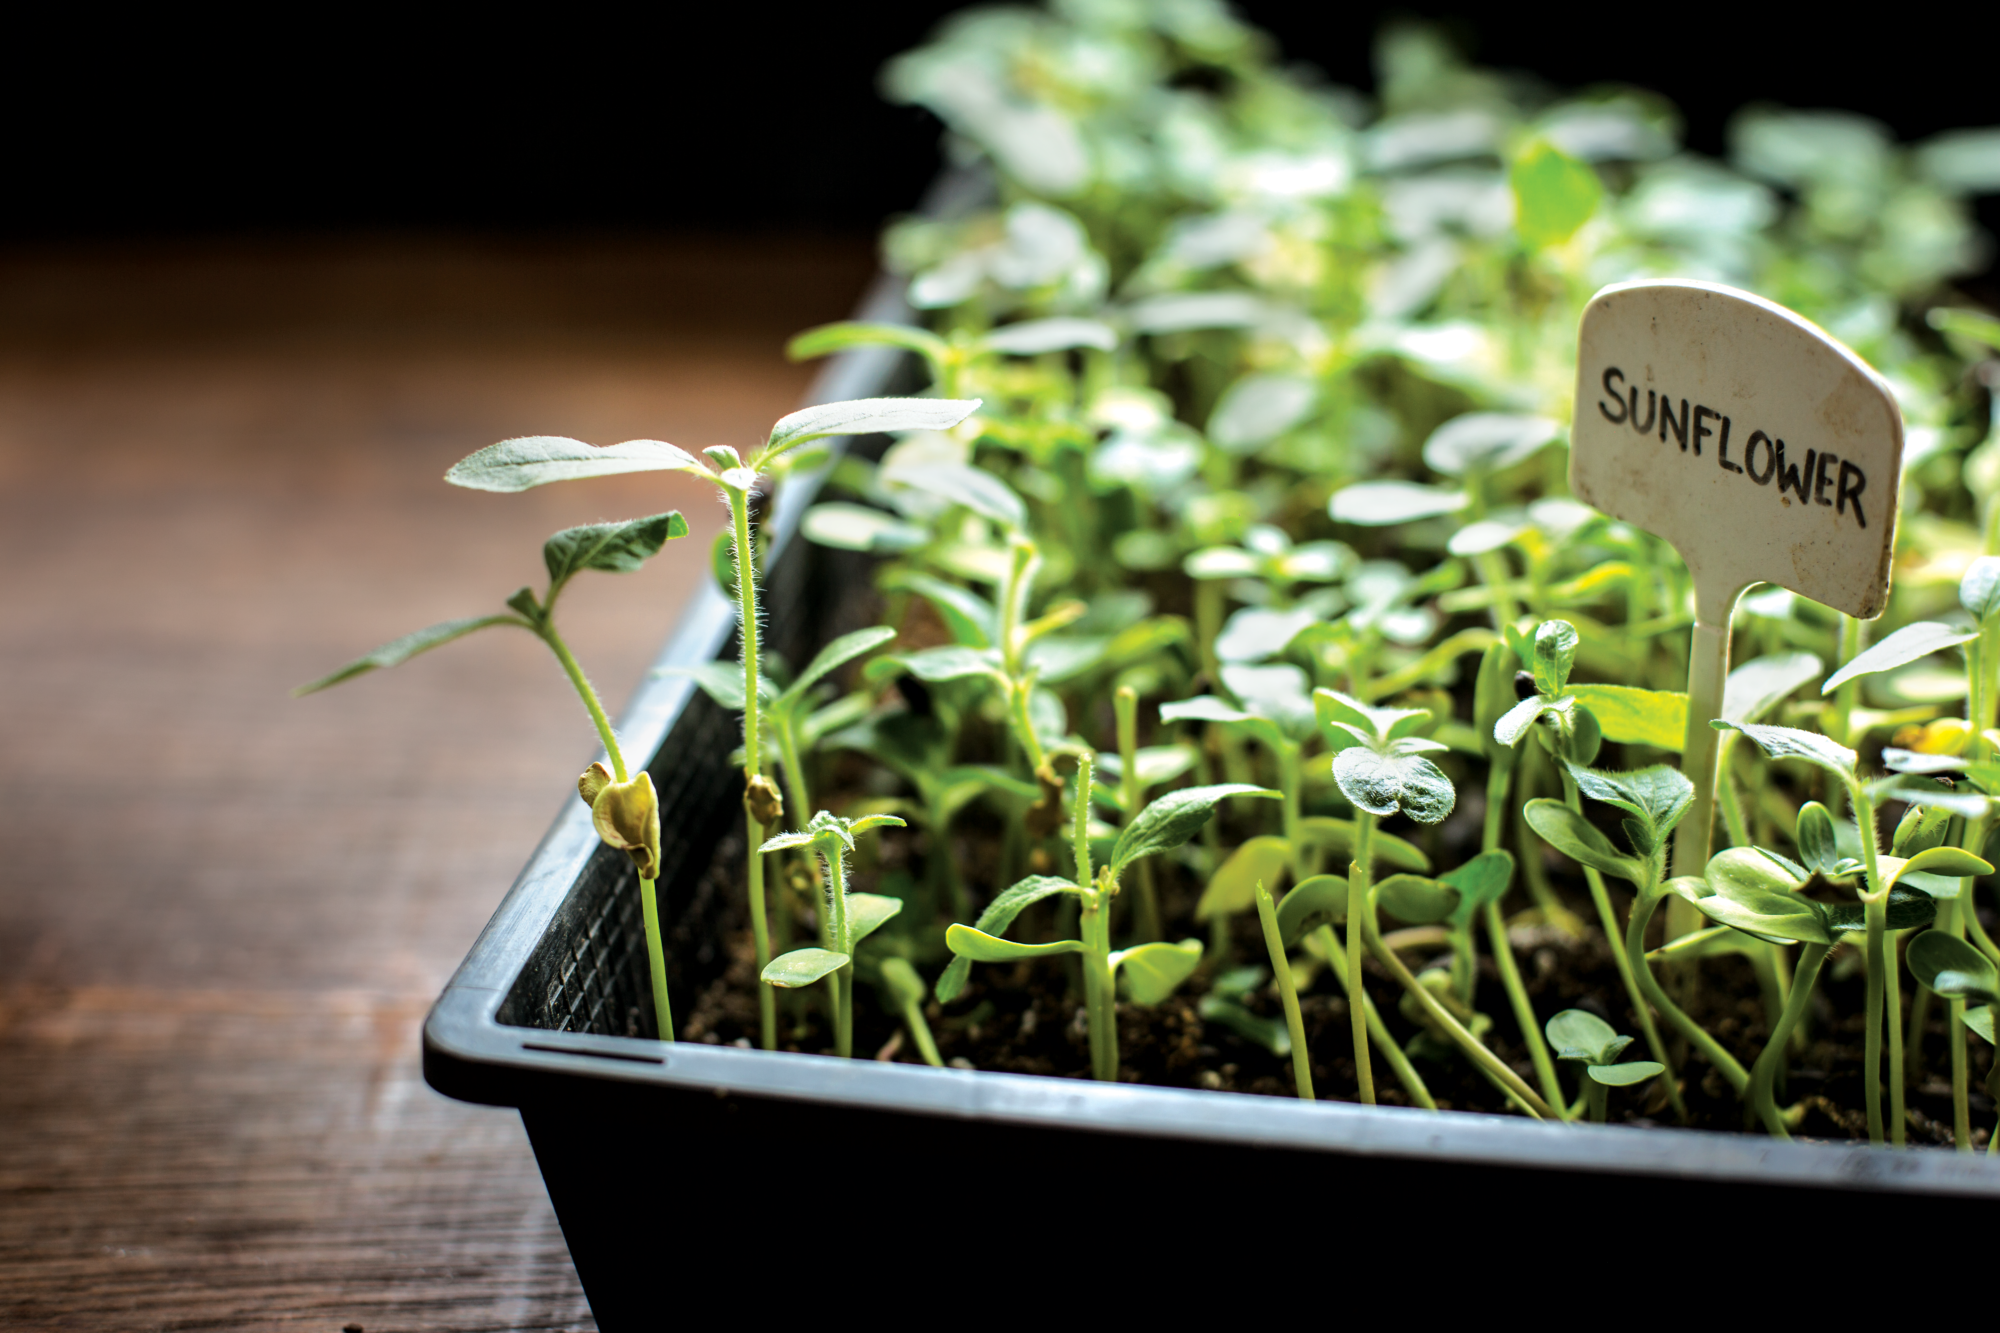
What you need
- Plastic container (depth not less than 5 cm);
- priming;
- seeds;
- water;
- spray.
What to do
Fill the container with soil, and then smooth out the soil. Scatter the seeds as directed on the package. If there is no instructions, plant them at least 3 mm apart. Sprinkle a thin layer of earth on top.
Water the seedlings gently but generously, and then place them in the light. Spray the sprouts with a spray bottle several times a day.
How to grow microgreens on a substrate
What you need
- substrate;
- scissors (optional);
- water;
- plastic container measuring 25 × 50 cm;
- spray;
- seeds;
- light-tight cover (optional).
What to do
The substrate is sold in the form of briquettes. Briquettes need to be soaked and loosened, and then placed in a container. And cut the mats with scissors to fit the size of the container.
Soak the material in water and then let the liquid drain. Put it in the tray. Spread the seeds over the area of the substrate. If the packaging indicates the distance to be observed when planting, follow the recommendations. If not, try not to place the seeds too close – let there be at least 3 mm between them.
Cover the container with a lid or put it in a dark place. Try not to check the seeds more than once every 12 hours. After five days, put the tray in the light. From this point on, microgreens can be watered. Add water to the substrate, not to the sprouts themselves.
How to care for microgreens
The main thing is not to let the soil or soil substitute dry out. For watering, you do not need to use water with a high content of chlorine: it can turn microgreens yellow. If you are not sure about the liquid from the tap, use bottled water.
Avoid too cold water. The optimum temperature is 10–15 °C. The maximum value is 21 °C. Hotter water can harm the sprouts.
If weeds appear on the ground, they need to be pulled out. Then microgreens will not compete for nutrients with other plants. Pests on sprouts are almost never found: they simply do not have time to attack seedlings.
What problems can arise when growing microgreens
This is a fairly simple process, but if you are waiting for the harvest for the first time, you may run into trouble. Here are the most common ones:
- Withering. The leaves look shriveled or bend under their own weight. This is most often due to lack of water, lack of sunlight, or careless watering.
- Bad smell. Normally, microgreens smell fresh. The opposite suggests that bacteria have appeared on the crop. Throw it away without trying to continue growing.
- Mold. Don’t try to remove it. The container or jar of sprouts will have to be thrown away. The cause of the problem is most likely in an overly humid environment. If the situation repeats itself next time, try using containers with holes in the bottom and do not add a lot of liquid to glass containers.
- Uneven growth. Microgreens will reach for the light. If you notice that the yield is higher on one side of the container than on the other, rotate the tray. Undeveloped sprouts should be exposed to sunlight. Repeat the procedure every day.
- Yellow leaves. It is normal when the seedling container is in a dark place. As soon as you rearrange them closer to the light, the leaves will turn green.
- Bad germination. Within 2-3 days after planting, sprouts should begin to sprout. If this does not happen, most likely you bought low-quality seeds or did not soak large grains before planting. In the first case, try seedlings from another manufacturer, and in the second, follow the technology next time.
How to harvest microgreens
When the sprouts have reached the desired length, cut them off with scissors or a blade at the root. Rinse the crop with running water and add to food.