
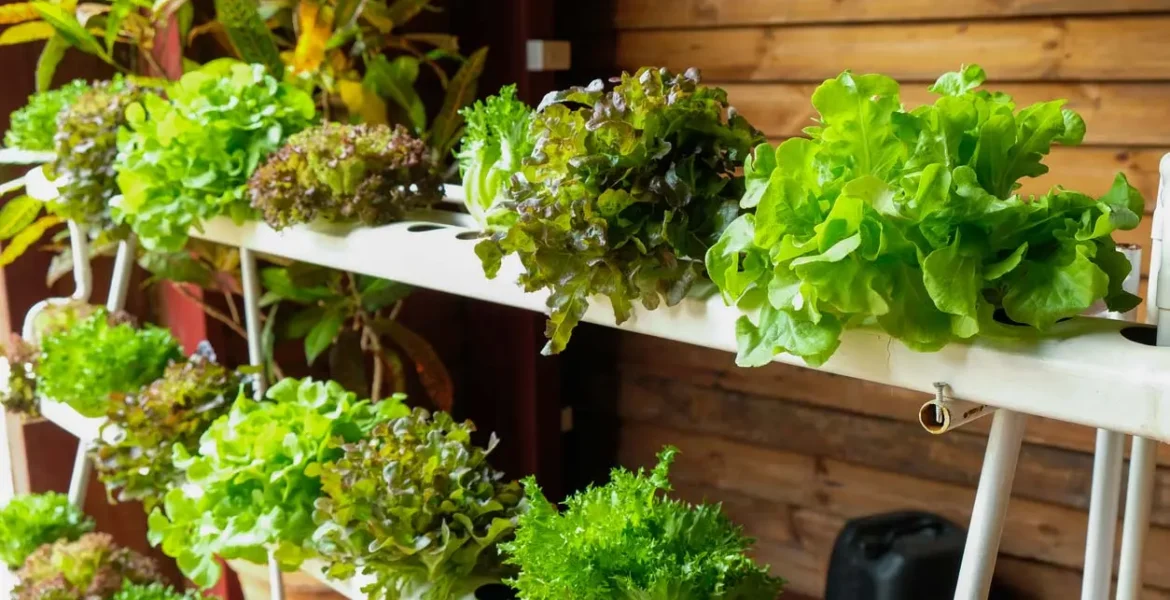
Hydroponic systems help to get a good harvest all year round, quickly grow seedlings, or simply green up your home.
What is Hydroponics?
Hydroponic gardening allows you to grow plants without soil. The soil is replaced by water or an inert substrate that does not react with the environment or alter its properties. This could be materials like mineral wool, coconut fiber, foam glass, expanded clay, perlite, and others. Plants receive the necessary nutrients from a solution of specialized fertilizers.
Hydroponic systems can be active or passive. In active systems, plants are nourished by the automatic circulation of a nutrient solution. In passive systems, the nutrient solution rises to the roots on its own due to capillary action.
Advantages of Hydroponics
- Soil savings: Plants get all the nutrients they need from the solution, eliminating the need for purchasing or mixing substrates.
- Space savings: Hydroponic installations take up little space, allowing for a large harvest in a limited area.
- Cleanliness: Working with water or inert substrates doesn’t dirty your hands or the surrounding space.
- No pests: There are no harmful insects or worms typically found in soil in hydroponic systems.
- Faster growth: Plants absorb nutrients better, which promotes rapid growth and development.
- High yields: Fertilizers are more effectively absorbed, leading to healthier plants and a higher yield.
Disadvantages of Hydroponics
- High cost: Significant investment is required for equipment and tools.
- Constant monitoring: You need to monitor the pH level and mineralization of the water, as well as the dosage of fertilizers.
- Temperature sensitivity: Plants are sensitive to temperature fluctuations and require conditions between 18–25°C.
- Dependence on electricity: A constant power supply is needed for the system to function.
- High Risk of disease: Diseases can spread quickly through the nutrient solution.
Which Plants Are Suitable for Hydroponics?
Hydroponics is suitable for most crops except for bulbous plants, root vegetables, and melons. On balconies, tomatoes, cucumbers, peppers, and herbs are commonly grown. With hydroponics, you can collect herbs and spices all year round.
Hydroponics is also suitable for most houseplants. You can start experimenting with hardy and resilient species such as monstera, syngonium, epipremnum, and scindapsus.
It’s best to grow these plants from seeds or cuttings and to introduce them to the system when they are young. Plants older than one year may struggle to adapt to hydroponics and may not survive.
Choosing a hydroponic system for indoor gardening
There are seven main types of hydroponic systems, which differ in design and the way nutrients are delivered to the plant:
- Deep water culture (DWC)
- Ebb and flow system
- Drip System
- Nutrient film technique (NFT)
- Aeroponics
- Wick system
- Semi-Hydroponics
However, not all of these are suitable for home use. For example, equipment for NFT and aeroponics is hard to find for home gardeners. We’ve selected the most convenient and simple systems that are easy to try at home.
Active Systems
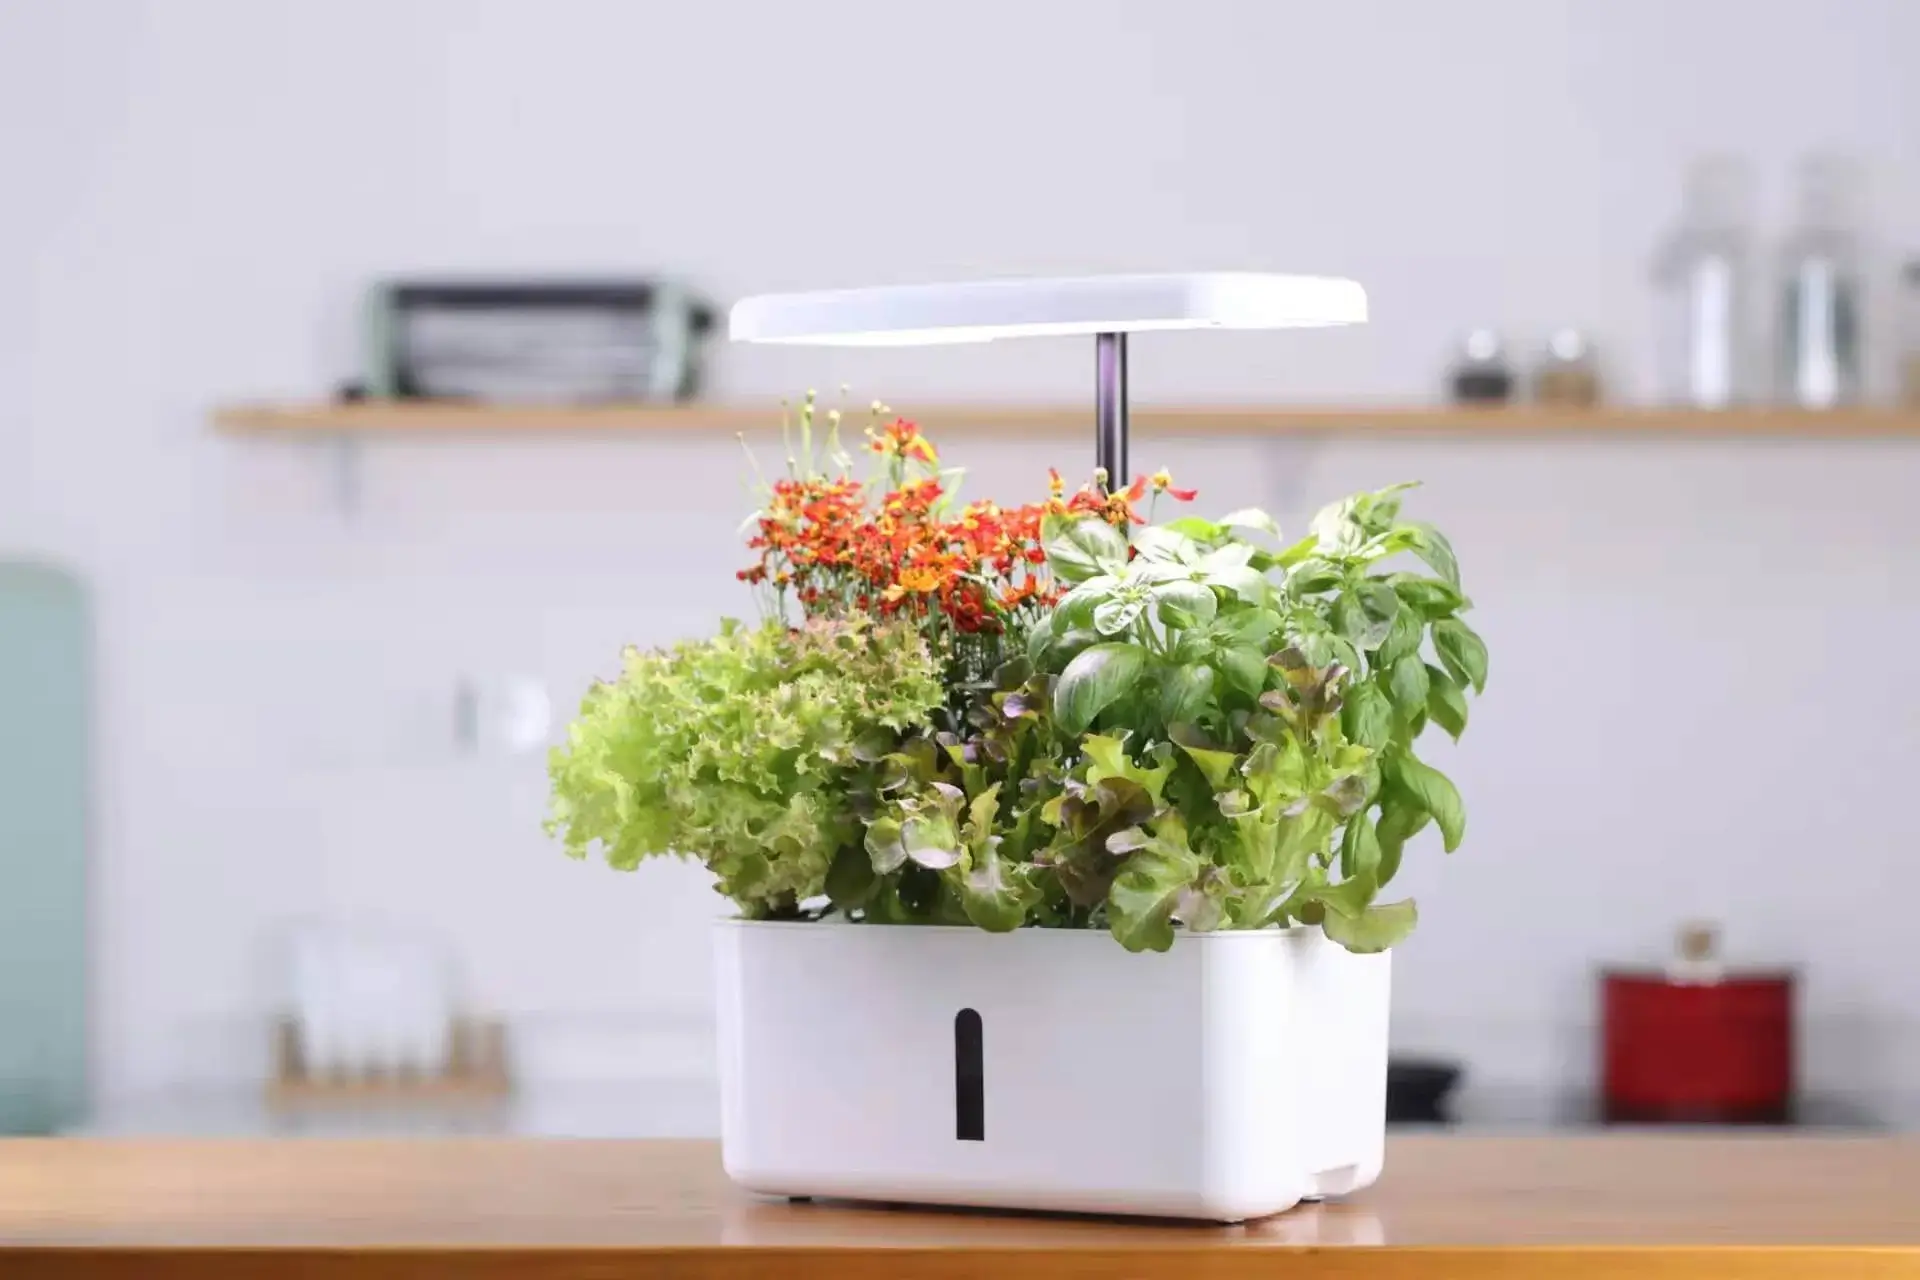
Three types of active hydroponic systems are commonly used at home:
- Deep Water Culture (DWC): A container with a substrate is submerged in a nutrient solution, which is oxygenated by a compressor.
- Ebb and Flow System: The water level periodically rises and falls, flooding the roots.
- Drip System: The nutrient solution is delivered to the roots, maintaining the moisture of the substrate.
Advantages:
- Ease of setup: The device for any of the three systems is easy to assemble and prepare for use.
- Simplicity in care and maintenance: It’s enough to clean the reservoir with warm water and household soap every 12-15 days and update the nutrient solution.
- Efficiency: The root system of seedlings continuously receives intensive nourishment, allowing for rapid growth.
Disadvantages:
- Dependence on electricity: The device must always be plugged into the power supply—extended power outages can lead to crop failure.
- Limited size: Many inexpensive hydroponic systems are compact and not suitable for long-term cultivation of large numbers of plants. However, they are perfect for seedlings and compact fruit, berry, and herb crops.
- Risk of root rot: If the reservoir is not cleaned thoroughly, plants can become diseased.
Passive Systems
These systems don’t require electricity or technical maintenance.
Semi-Hydroponic Systems
Plants grow in an inert substrate (such as expanded clay or perlite), which releases moisture and nutrients evenly.
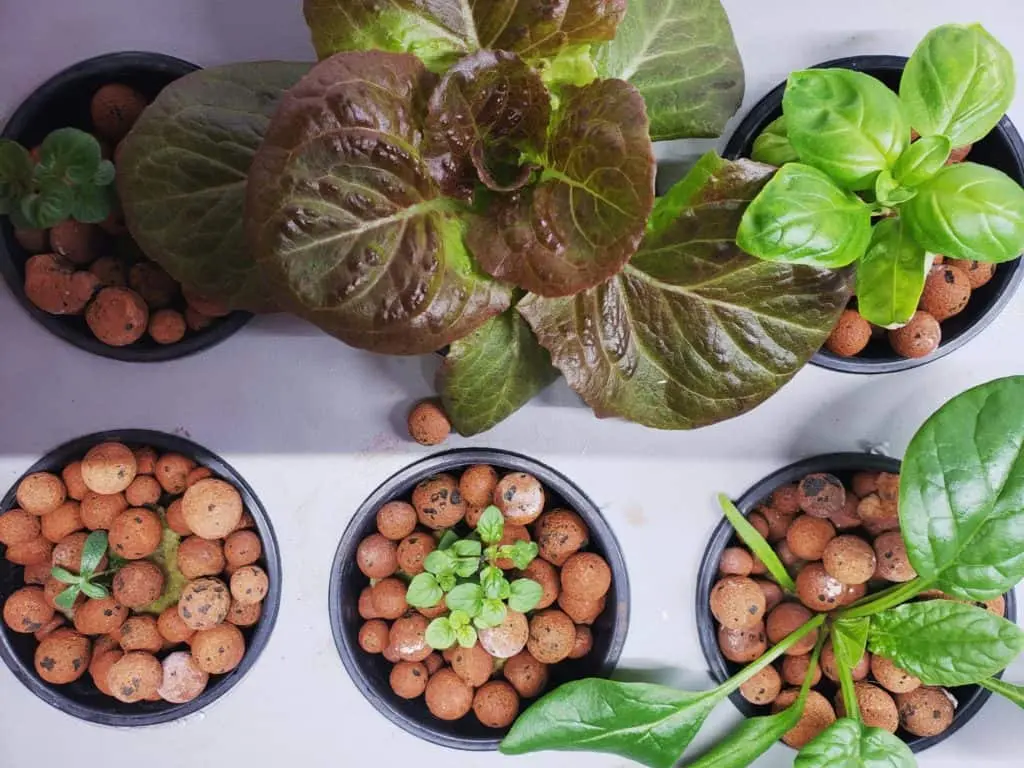
Advantages:
- Suitable for houseplants and decorative crops.
- Expanded clay does not compact and allows roots to breathe.
- Substrate can be reused.
Disadvantages:
- Risk of root damage due to overcooling.
- Frequent watering required.
Wick Systems
A pot with a plant is connected by a wick to a reservoir of solution, which is delivered to the roots via capillary action.
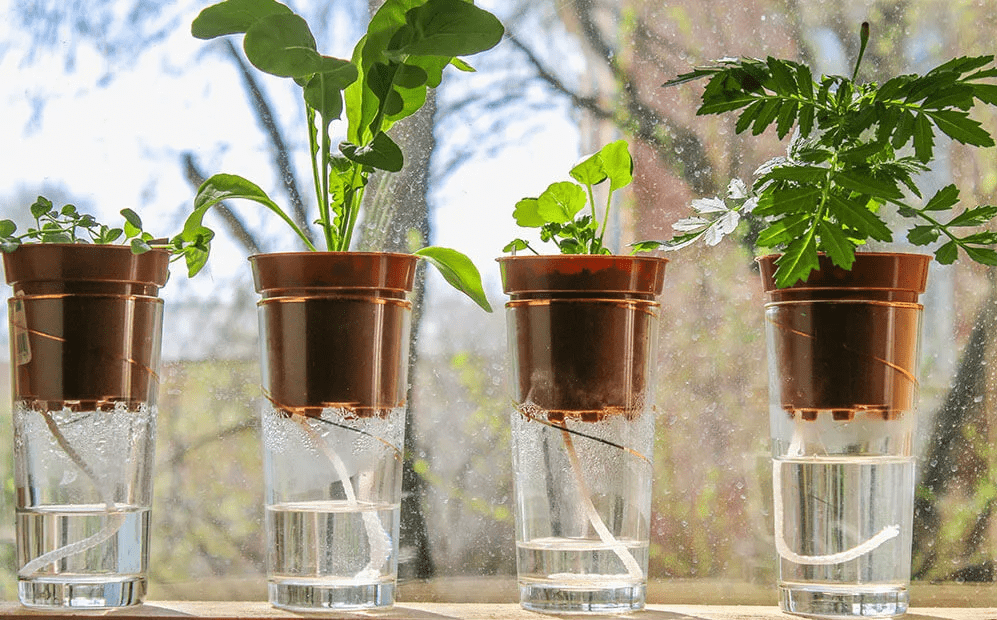
Advantages:
- Simple and independent of electricity.
Disadvantages:
- Slow plant development.
- Not suitable for larger plants.
- Risk of algae growth due to limited airflow.
How to try hydroponics at home: the simplest and most universal method
For most plants, semi-hydroponics is a great option as it combines simplicity and minimal investment. Start by rooting a houseplant cutting in a semi-hydroponic system, and then continue growing it in the same system.
1. Prepare Expanded Clay
Thoroughly wash the substrate under running water until it runs clear. Fill a container with filtered water and soak the expanded clay for 1-2 hours.
After this, measure the pH level of the water with a pH meter (alternatively, you can use litmus paper or aquarium test drops). The pH should be close to neutral—5.5-6.5. If the level is too high or too low, use a pH regulator (such as pH+ or pH−) and follow the instructions to adjust the water’s pH. Soak the expanded clay for another 30-60 minutes after adjusting the pH.
2. Prepare Planting Containers
You will need two pots: one solid outer pot and one inner pot with drainage holes. The inner pot should be transparent so you can observe the growth and condition of the roots. Typically, a 200–400 ml pot is sufficient, but you can also use regular plastic cups or special pots with drainage inserts.
3. Prepare the Cutting
Cut a piece from the plant using sharp pruners or a knife. Disinfect the tool with an alcohol-based solution. Dip the cutting in rooting hormone (e.g., “Kornevin”) and let it dry for an hour.
4. Plant the Cutting
Fill the inner pot with expanded clay up to about halfway. Place the cutting and carefully add more substrate to fill it up. Pour a small amount of filtered room-temperature water into the outer pot—about ⅕ of its volume. Place the inner pot into the outer one.
5. Wait for Rooting
Cover the cup with a plastic bag or clear jar and place it in a spot with bright, indirect light, avoiding direct sunlight. Keep the room temperature between 18–25°C. Ventilate the “greenhouse” every day, removing the cover for 15–20 minutes.
The cutting won’t need fertilizer at first—just clean, filtered water at room temperature. Keep the expanded clay moist, and water when it starts to dry out, but don’t let it completely dry out.
Once the roots are visible in the expanded clay, you can begin to acclimate the plant to regular conditions. Gradually increase the ventilation time by 10–20 minutes each day, and after 2-3 weeks, remove the cover completely. Once the cutting has fully rooted, you can replace the water with a nutrient solution.
How to care for plants in a hydroponic system
No matter which hydroponic system you choose, the basic care rules are similar. Ensure your plant receives enough light and nutrients, keep the substrate clean, and monitor the pH levels regularly.
Create Suitable Conditions
Hydroponic systems should be protected from temperature fluctuations. Heating or cooling of the nutrient solution or substrate can kill the plants. Room temperatures should be kept between 18-25°C.
Make sure to provide enough light. Most houseplants need at least 8-10 hours of light per day, while seedlings and fruiting/vegetable plants need about 12-16 hours. Some automatic hydroponic systems come with built-in lighting, but if yours doesn’t, use phytolamps or fluorescent lights of at least 36W per 1 m².
Provide Nutrients
You’ll need a special solution for this. Prepare it using soft, purified water—distilled or bottled drinking water. Tap water should be avoided due to its higher mineralization and various impurities. Use specialized hydroponic fertilizers—regular plant fertilizers are not suitable.
In semi-hydroponics and wick systems, start with a low concentration of nutrients, adding just ⅕ of the recommended dosage. Fill the outer pot with nutrient solution to about ¼ or ⅕ of its height.
Keep the Substrate or Reservoir Clean
About once every 1-2 months, clean the expanded clay from salt deposits (white residue on the surface). Simply rinse the substrate with warm running water, without removing the plant from the pot.
For automatic and wick systems, clean the reservoirs when replacing the nutrient solution—approximately every 12-15 days. Use warm water with household soap and avoid harsh chemicals.
Monitor pH Levels
In active and wick systems, check the pH after replacing the nutrient solution. In semi-hydroponics, check the solution a few hours after watering. If the pH is too high or too low, rinse the pot with water that has a pH of 5.5-6.5. For active systems, adjust the pH using products designed for this purpose.